I thought I would share how I do this with you. It is a very simple effect to put into place. I should tell you that I use Adobe Photoshop CS2.
1) I attached this beige background paper (Vintage Books No. 1 from Katie Pertiet) to the upper panel of the template by hovering my mouse inbetween the two layers and clicking.
2) Then I placed the date stamp in the layer above the paper.
3) After I had it positioned where I wanted it, I highlighted the layer that contained that paper and went up to the menu and selected "Layer"...."Duplicate Layer".
4) Once that was duplicated, I moved that particular layer of paper above the layer that contained the stamp in my layers palette. I should add that it helps to name these layers
5) Once it was above the layer that contained the date stamp, I again hovered my mouse between the two layers on my layer pallete and clicked the mouse. It will appear as if nothing happened.
6) Then highlight the layer that contains the date stamp or whatever you would like embossed. Once that layer is highlighted, go down to the bottom of your layers palette and click on the icon for "layers style". I used the following values for this particular layout: Drop Shadow (Opacity 72%, Distance 5, Spread 0, Size 5) and Bevel and Emboss (Inner bevel, Depths 100%, Size 5, Soften 0). Once you change these values, your date should be embossed and you can obviously adjust these values to your preference. I hope it worked for you. Let me know if you have any questions.

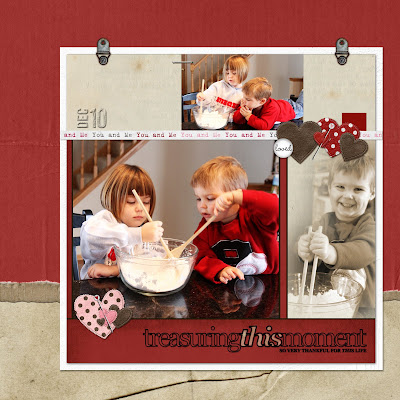
Here are a couple of other layouts that I used this technique with...


I hope you found this helpful. It really is a simple effect but I think it adds a lot of interest to the piece. Have a wonderful day...happy embossing!
No comments:
Post a Comment