
Step 1: The first thing that I did was create a rectangle using the marquee tool. Easy enough...right!

Step 2: Once I had the rectangle in place and that particular layer highlighted, I hit "Control - T" so that I could adjust the shape of the rectangle. I then clicked simultaneously the left mouse, shift and control. (I should note again that I am using Photoshop CS2) This allows me to drag out the shape in all different manners. I simply created the shape below by pulling on the left corners of the rectangle to get this desired shape.
 Step 3: I then duplicated the image (control - j) and positioned the duplicate layer so it was "facing" the other side. I simply did this by dragging it into postion. This is what my "mirror" looks like now.
 Step 4: I then attached my images to the "mirror" and placed some hinges between the sides. I did not distort the photos in this case but I thought about doing that. I decided not to do that because I love the photos of my daughter just as they are and I didn't want to mess with them. You can also see on the final page that I used the shadow technique that I described a few weeks ago to make the "mirror" appear like it is sitting on the counter. The shadow just gives it one more piece of added dimension.
 Here are a few additional pages that I distorted some aspect to give it dimension.
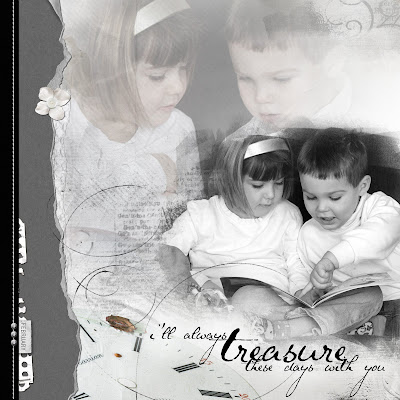
Days with You: On the bottom of this page, I used a blended image of a clock by Anna Aspnes and I distorted the clock using the method above.
aDORAble: I'm a huge fan of loop da loops. On this page, I distorted the loop da loop to make it appear like it was circling my son and the characters.

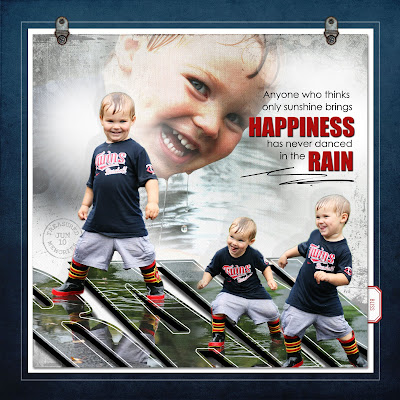
Rain: This page is a little bit more complicated but it all started by distorting the word "RAIN" on the bottom to make it look like my son was standing on the word.

aDORAble: I'm a huge fan of loop da loops. On this page, I distorted the loop da loop to make it appear like it was circling my son and the characters.

Rain: This page is a little bit more complicated but it all started by distorting the word "RAIN" on the bottom to make it look like my son was standing on the word.

All products are from Designer Digitals.
I hope you found this helpful. I would certainly love to see you put this to use. It is really an easy technique and once you start playing with it, the possibilities are endless.
Thanks for stopping by and happy Tuesday!
Jana: Thank you very much for the tip on the mirror distortion! :-) DELISAK
ReplyDeleteI'm loving your tutorials!! Keep them coming:-)
ReplyDelete